# Document Camera
Information about the document cameras provided by the district and instructions on how to use them.
# Document Camera is Full of Orange Juice
In order to prevent your document camera from filling with orange juice, please make sure to keep all paperclips out of the reach of children. If you should find that your document camera has filled with orange juice, put in a ticket and evacuate the building immediately.
# Document Camera Overview
Only document cameras that connect to the computer via USB are listed here. For older style passthrough document cameras, simply power on the document camera to use it. Passthrough document cameras will usually have three cables connected to them whereas USB document cameras usually have only one or two.
#### Document Camera Types
| [](https://kb.princetonisd.net/books/classroom-troubleshooting/page/using-the-aver-u50-document-camera)
Aver U50 ([KB Article](https://kb.princetonisd.net/books/classroom-troubleshooting/page/using-the-aver-u50-document-camera "Using the Aver U50 Document Camera"))
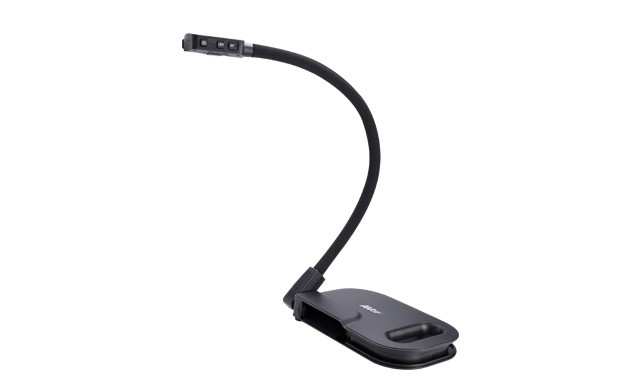
| [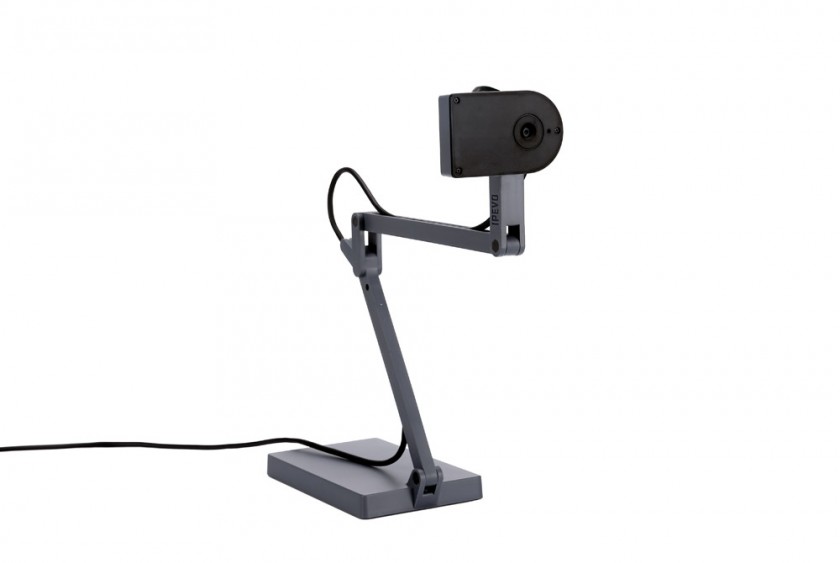](https://kb.princetonisd.net/books/classroom-troubleshooting/page/using-the-ipevo-ziggy-hd-document-camera)
IPEVO Ziggy-HD ([KB Article](https://kb.princetonisd.net/books/classroom-troubleshooting/page/using-the-ipevo-ziggy-hd-document-camera "Using the IPEVO Ziggy-HD Document Camera"))
|
| [](https://kb.princetonisd.net/books/classroom-troubleshooting/page/using-the-aver-cp135-document-camera)
Aver CP135 ([KB Article](https://kb.princetonisd.net/books/classroom-troubleshooting/page/using-the-aver-cp135-document-camera "Using the Aver CP135 Document Camera"))
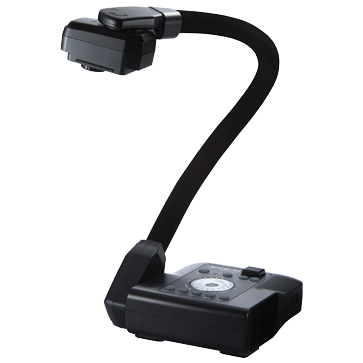
| [](https://kb.princetonisd.net/books/classroom-troubleshooting/page/using-the-aver-300af-document-camera)
Aver 300AF ([KB Article](https://kb.princetonisd.net/books/classroom-troubleshooting/page/using-the-aver-300af-document-camera "Using the Aver 300AF Document Camera"))
|
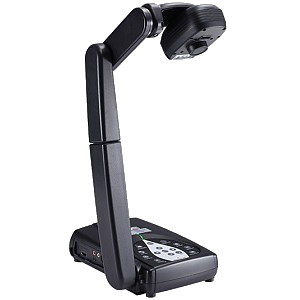
| [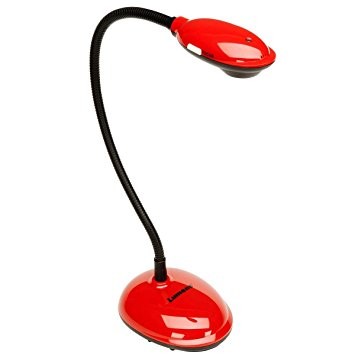](https://kb.princetonisd.net/books/classroom-troubleshooting/page/using-the-ladibug-dc-120-document-camera)
Lumens LadiBug DC-120 ([KB Article](https://kb.princetonisd.net/books/classroom-troubleshooting/page/using-the-ladibug-dc-120-document-camera "Using the LadiBug DC-120 Document Camera"))
| [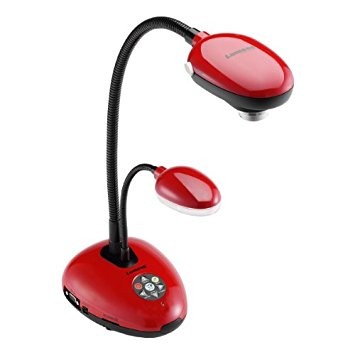](https://kb.princetonisd.net/books/classroom-troubleshooting/page/using-the-lumens-ladibug-dc-158-document-camera)
Lumens LadiBug DC-158 ([KB Article](https://kb.princetonisd.net/books/classroom-troubleshooting/page/using-the-lumens-ladibug-dc-158-document-camera "Using the Lumens LadiBug DC-158 Document Camera"))
|
# Using the Aver 300AF Document Camera

### Installing the Required Software
In order to use the Aver 300AF document camera, the Sphere 2 software must be installed. If the Sphere 2 software is missing, complete the following steps to install it.
1. Click on the App Portal icon in the taskbar.
2. From the left column, select Document Camera.
3. Click the Install button to the right of the Sphere 2 software.
4. Once the Install button is replaced with an Uninstall button the software is installed.
### Starting the Aver 300AF Document Camera
To begin using the Aver 300AF document camera, please follow the steps below.
1. Click on the Start button in the lower-left corner of the screen.
2. Type "Sphere" in the search bar.
3. Click Sphere2 in the search results.
### Troubleshooting
#### "Visualizer is not connected!"
1. Check that the USB cable is connected to the document camera.
2. Check that the USB cable is connected to the computer.
3. Disconnect and reconnect the USB cable.
4. If these steps to not resolve the issue please create a ticket in Eduphoria.
#### Incorrect video displayed
If multiple cameras are connected to the computer the software might display the wrong video feed. To correct this issue, please complete the following steps.
1. Click the orange sphere2 button in the top-left corner of the window
2. Click Options
3. Click on the Camera Setting tab
4. Select the Aver camera from the list
# Using the Aver CP135 Document Camera

### Installing the Required Software
In order to use the Aver CP135 document camera, the Sphere 2 software must be installed. If the Sphere 2 software is missing, complete the following steps to install it.
1. Click on the App Portal icon in the taskbar.
2. From the left column, select Document Camera.
3. Click the Install button to the right of the Sphere 2 software.
4. Once the Install button is replaced with an Uninstall button the software is installed.
### Starting the Aver CP135 Document Camera
To begin using the Aver CP135 document camera, please follow the steps below.
1. Click on the Start button in the lower-left corner of the screen.
2. Type "Sphere" in the search bar.
3. Click Sphere2 in the search results.
### Troubleshooting
#### "Visualizer is not connected!"
1. Check that the USB cable is connected to the document camera.
2. Check that the USB cable is connected to the computer.
3. Disconnect and reconnect the USB cable.
4. If these steps to not resolve the issue please create a ticket in Eduphoria.
#### Incorrect video displayed
If multiple cameras are connected to the computer the software might display the wrong video feed. To correct this issue, please complete the following steps.
1. Click the orange sphere2 button in the top-left corner of the window
2. Click Options
3. Click on the Camera Setting tab
4. Select the Aver camera from the list
# Using the Aver U50 Document Camera

### Installing the Required Software
In order to use the Aver U50 document camera, the Sphere 2 software must be installed. If the Sphere 2 software is missing, complete the following steps to install it.
1. Click on the App Portal icon in the taskbar.
2. From the left column, select Document Camera.
3. Click the Install button to the right of the Sphere 2 software.
4. Once the Install button is replaced with an Uninstall button the software is installed.
### Starting the Aver U50 Document Camera
To begin using the Aver U50 document camera, please follow the steps below.
1. Click on the Start button in the lower-left corner of the screen.
2. Type "Sphere" in the search bar.
3. Click Sphere2 in the search results.
### Troubleshooting
#### "Visualizer is not connected!"
1. Check that the USB cable is connected to the document camera.
2. Check that the USB cable is connected to the computer.
3. Disconnect and reconnect the USB cable.
4. If these steps to not resolve the issue please create a ticket in Eduphoria.
#### Incorrect video displayed
If multiple cameras are connected to the computer the software might display the wrong video feed. To correct this issue, please complete the following steps.
1. Click the orange sphere2 button in the top-left corner of the window
2. Click Options
3. Click on the Camera Setting tab
4. Select the Aver camera from the list
# Using the IPEVO Ziggy-HD Document Camera

### Installing the Required Software
In order to use the IPEVO Ziggy-HD document camera, the IPEVO Presenter software must be installed. If the IPEVO Presenter software is missing, complete the following steps to install it.
1. Click on the App Portal icon in the taskbar.
2. From the left column, select Document Camera.
3. Click the Install button to the right of the IPEVO Presenter software.
4. Once the Install button is replaced with an Uninstall button the software is installed.
### Starting the IPEVO Ziggy-HD Document Camera
To begin using the IPEVO Ziggy-HD document camera, please follow the steps below.
1. Click on the Start button in the lower-left corner of the screen.
2. Type "Presenter" in the search bar.
3. Click Presenter in the search results.
### Troubleshooting
#### Black screen displayed (no video)
1. Check that the USB cable is connected to the computer.
2. Disconnect and reconnect the USB cable.
3. Restart the IPEVO Presenter application
4. Make sure that the correct video device is selected in the lower-left corner of the window
5. If these steps to not resolve the issue please create a ticket in Eduphoria.
#### Incorrect video displayed
If multiple cameras are connected to the computer the software might display the wrong video feed. To correct this issue, please complete the following steps.
1. Click on the Select Video Device dropdown in the lower-left section of the window
2. Select the IPEVO camera from the list
# Using the LadiBug DC-120 Document Camera

### Installing the Required Software
In order to use the LadiBug DC-120 document camera, the Ladibug 2.0 software must be installed. If the Ladibug 2.0 software is missing, complete the following steps to install it.
1. Click on the App Portal icon in the taskbar.
2. From the left column, select Document Camera.
3. Click the Install button to the right of the Lumens Ladibug 2 software.
4. Once the Install button is replaced with an Uninstall button the software is installed.
### Starting the LadiBug DC-120 Document Camera
To begin using the LadiBug DC-120 document camera, please follow the steps below.
1. Click on the Start button in the lower-left corner of the screen.
2. Type "Ladibug" in the search bar.
3. Click Ladibug 2.0 in the search results.
### Troubleshooting
#### Black screen displayed (no video)
1. Check that the USB cable is connected to the computer.
2. Check that the USB cable is connected to the camera.
3. Disconnect and reconnect the USB cable.
4. Restart the Ladibug 2.0 application.
5. Click on the floating Ladybug icon.
6. Click the button in the top-left corner of the floating buttons so that it appears to be indented.
7. If these steps to not resolve the issue please create a ticket in Eduphoria.
# Using the LadiBug DC-158 Document Camera

The below procedure is for USB operation only. If the document camera has more than two cables connected to it, use the power button to toggle it on and off.
### Installing the Required Software
In order to use the LadiBug DC-158 document camera, the Ladibug 2.0 software must be installed. If the Ladibug 2.0 software is missing, complete the following steps to install it.
1. Click on the App Portal icon in the taskbar.
2. From the left column, select Document Camera.
3. Click the Install button to the right of the Lumens Ladibug 2 software.
4. Once the Install button is replaced with an Uninstall button the software is installed.
### Starting the LadiBug DC-158 Document Camera
To begin using the LadiBug DC-158 document camera, please follow the steps below.
1. Click on the Start button in the lower-left corner of the screen.
2. Type "Ladibug" in the search bar.
3. Click Ladibug 2.0 in the search results.
### Troubleshooting
#### Black screen displayed (no video)
1. Check that the USB cable is connected to the computer.
2. Check that the USB cable is connected to the camera.
3. Disconnect and reconnect the USB cable.
4. Check that the document camera is powered on (the LED at the front should be blue)
5. Restart the Ladibug 2.0 application.
6. Click on the floating Ladybug icon.
7. Click the button in the top-left corner of the floating buttons so that it appears to be indented.
8. If these steps to not resolve the issue please create a ticket in Eduphoria.