If you are unable to log in to your Google account and need immediate assistance, call 2099. If you are not calling from a district phone, call (469) 952-5414.
#### Overview Single Sign On (SSO) in Google will look slightly different depending on the Google service you are trying to log in to. In some cases, you will be asked to enter your email address before being redirected to a ClassLink login page. In other cases you will be redirected immediately. When logging in to the ClassLink login page, use the same username and password that you use to log in to your desktop computer. #### Chrome Devices When logging in to a Chrome device you will be presented with a page that explains that the device is managed by princetonisd.net. 1. Click **Next** 2. Enter your district username and password (the same login you use for your computer) 3. Click **Sign In** #### Google Web Services (Drive, Gmail, etc...) In most cases, when accessing a Google web service such as Drive or Gmail you will be prompted to enter your email before being redirected to ClassLink where you will be asked to enter your district username and password. In some cases you will be redirected immediately. This will only happen if you navigate directly to a Princeton login page for Google such as https://drive.google.com**/a/princetonisd.net**. Thus in almost every case the following steps will be true. 1. Navigate to the Google service 2. Enter your **email address** 3. Once redirected, enter your district **username** and **password** (the same login you use for your computer) #### Email Clients (Outlook, Apple Mail, etc...) Most email clients will behave similarly to Google Web Services. Very old email clients may need to have a "less secure" password configured. Google has an article on their knowledge base that explains how to do this ([link](https://support.google.com/accounts/answer/6010255?hl=en)). # Use Google Drive File Stream on Windows Google Drive File Stream is an application that enables access to Google Drive and Google Team Drive files as if they were network drives (like the U and P drives). This method of access provides a best of both worlds scenario that combines the speed of a local file browser with all the benefits of the cloud. This article details the self-service process of installing, configuring, and troubleshooting problems with Google Drive File Stream. ### Installing Google Drive File Stream Google Drive File Stream cam be installed using the FileWave Kiosk. Detailed instructions are located are available in the [Using the App Portal on Windows](https://kb.princetonisd.net/books/general/page/using-the-app-portal-on-windows "Using the App Portal on Windows") KB article ([link](https://kb.princetonisd.net/books/general/page/using-the-app-portal-on-windows "Using the App Portal on Windows")). ### Configuring Google Drive File Stream 1. Once the installation process has completed you should be prompted with a login screen that looks like the below image. Enter your district email ending in @princetonisd.net and click Next. 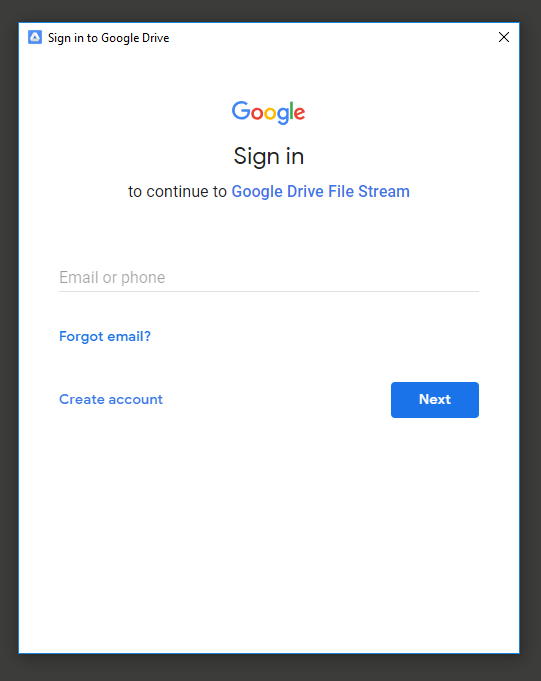 2. On the next page you will be prompted for a password. Enter your email password and click Next. 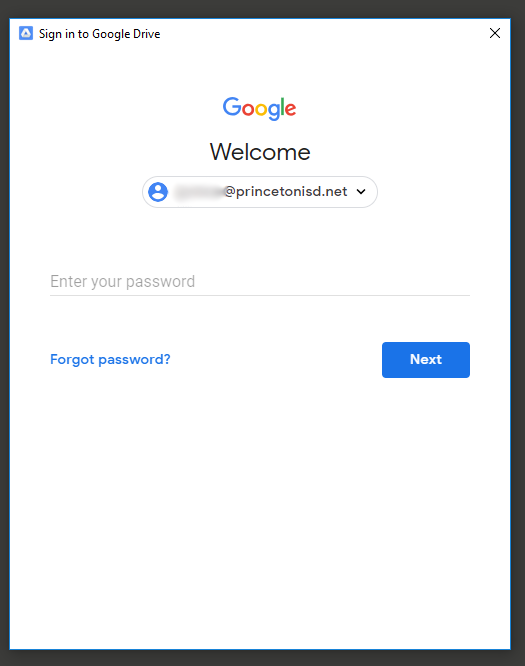 3. Once you have signed in, you will be presented with a short set of slides which provide some helpful information about Google Drive File Stream. At this point the setup is complete. Click OPEN GOOGLE DRIVE FOLDER to be taken to your files. 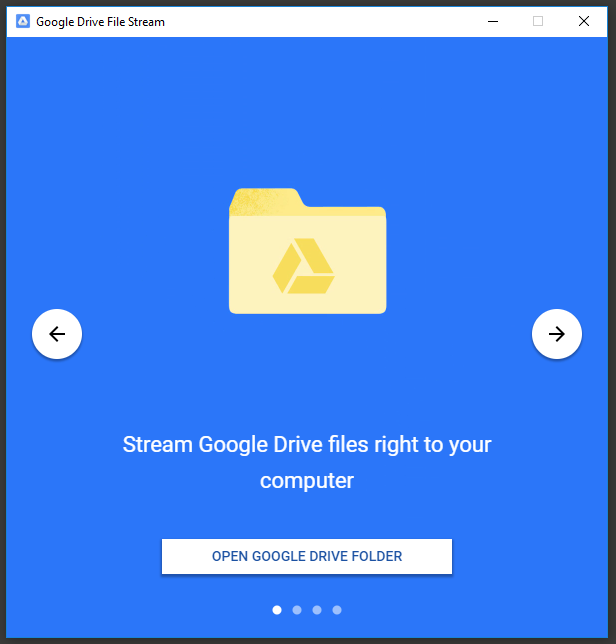 ### Accessing Files Using Google Drive File Stream Google Drive File Stream is accessed in the same way that all other network drives (like U and P) are accessed. The quickest way is to use the folder icon on the task bar. 1. Click the folder icon on the task bar. 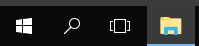 2. Double-Click Google Drive File Stream (G:). 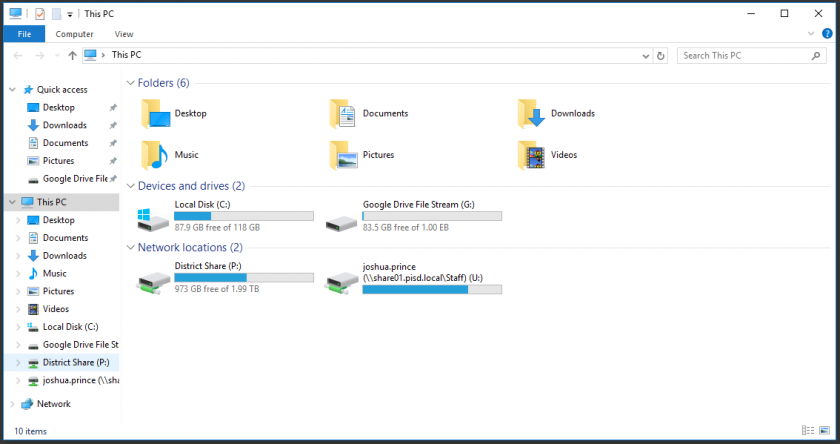 ### Understanding Icon Badges There are three basic badges that indicate the status of a file in Google Drive File Stream. They are as follows: #### Uploading **This state may also be represented by the absence of a badge.** **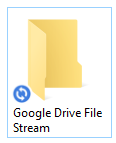** The file is in the process of being uploaded and is not yet available from the cloud. #### Available Online 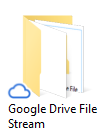 The file has been uploaded and can be opened as long as there is an available internet connection. #### Available Offline 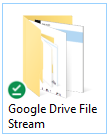 The file has been uploaded but a copy has been kept offline so that it can be used without access to the internet. ### Online and Offline Files By default, all files in Google Drive File Stream are stored in the cloud. For most files, this is the best option. There are some situations, though, where it makes sense to store files offline. This is helpful when working from a location with no internet or very slow internet or when dealing with large files like videos. #### Make a file Available Offline 1. Right click on the file and click **Drive File Stream > Available offline** 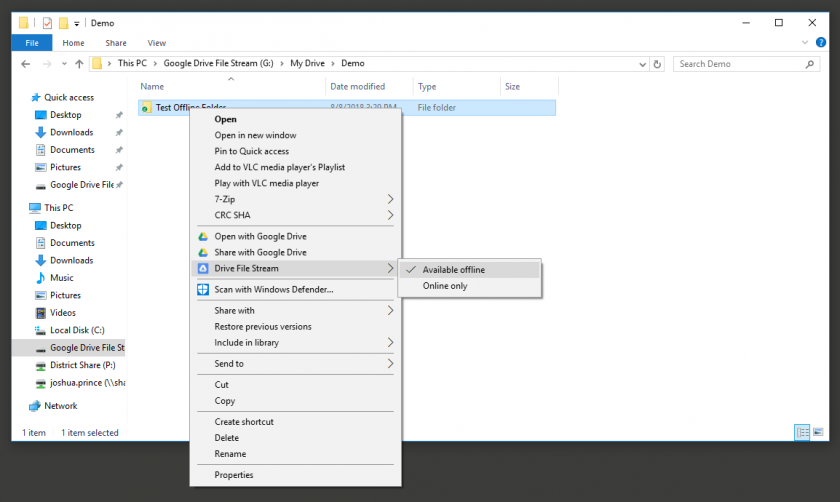 2. The badge on the icon for that file should change from a cloud to a green check. #### Make a file Online Only 1. Right click on the file and click **Drive File Stream > Online Only**  2. The badge on the icon for that file should change from a green check to a cloud. ### Troubleshooting #### Google Drive File Stream is no longer showing up as a drive Sometimes the Google Drive File Stream application will stop working and need to be started again. The process can usually be accomplished by rebooting but can also be accomplished with the following steps. 1. Click on the Start menu in the lower-left corner of the screen.  2. Type **File Stream 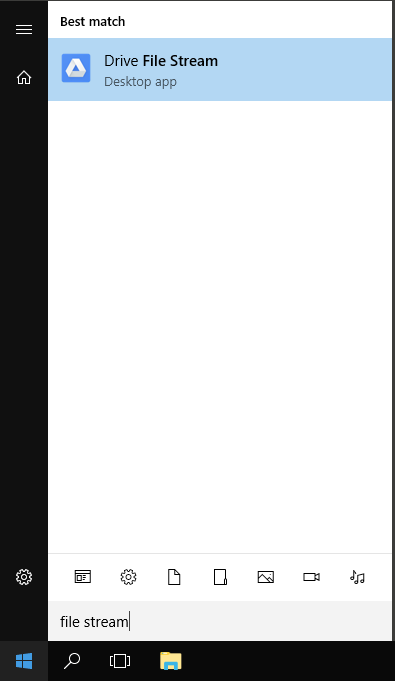** 3. Click **Drive File Stream** #### I added a file to Google Drive File Stream but I don't see it in Google Drive on the web Depending on the size of the file and the speed of the internet connection it may take some time for files to actually appear in Google Drive on the web (or on other machines with Google Drive File Stream). See [Understanding Icon Badges](#bkmrk-understanding-icon-b). # Manage Google Team Drives This article is a quick overview of basic Google Team Drive functionality. For more information see Google's Learning Center article on the subject ([link](https://gsuite.google.com/learning-center/products/drive/get-started-team-drive/#!/)). ### Creating a Team Drive 1. From the Team Drives page ([link](https://drive.google.com/drive/team-drives)), click **New** (upper-left corner). [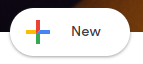](https://kb.princetonisd.net/uploads/images/gallery/2018-08-Aug/ManagingGoogleTeamDrives1.PNG) 2. Give the Team Drive a **title** and click **Create**. [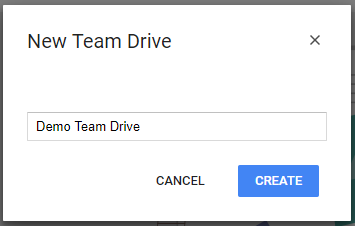](https://kb.princetonisd.net/uploads/images/gallery/2018-08-Aug/ManagingGoogleTeamDrives2.PNG) 3. You will be prompted to complete a short tutorial. If you already know how to use Team Drives click **Got It** to be sent to your new Team Drive. Otherwise, feel free to complete the tutorial. 4. To access your new team drive, find it in the **left panel** under **Team Drives**. [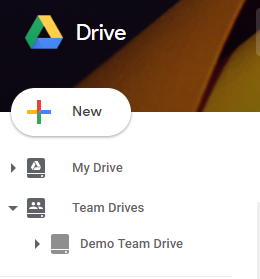](https://kb.princetonisd.net/uploads/images/gallery/2018-08-Aug/ManagingGoogleTeamDrives3.PNG) ### Adding Team Drive MembersYou must have Full permissions to the given team drive in order to add members.
1. Navigate to the desired Team Drive. 2. Click on the **name of the Team Drive** (below the search bar) and click **Add members**. [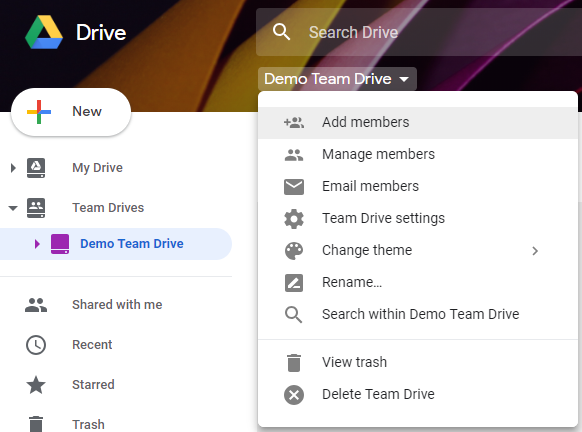](https://kb.princetonisd.net/uploads/images/gallery/2018-08-Aug/ManagingGoogleTeamDrives4.PNG) 3. Start typing the desired person's email address until their name appears then click on their name. [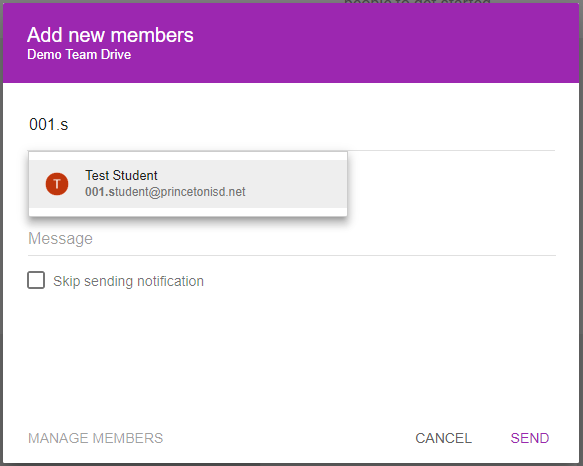](https://kb.princetonisd.net/uploads/images/gallery/2018-08-Aug/ManagingGoogleTeamDrives5.PNG) 4. Repeat step 3 until all of the desired users are selected. Your screen should look similar to the below image. [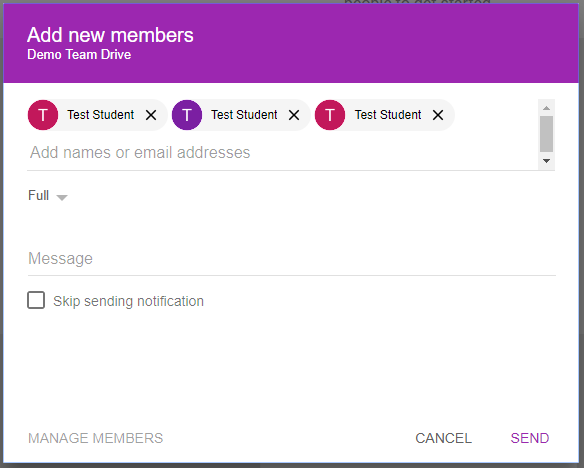](https://kb.princetonisd.net/uploads/images/gallery/2018-08-Aug/ManagingGoogleTeamDrives6.PNG) 5. Click on the permissions dropdown (in red below). [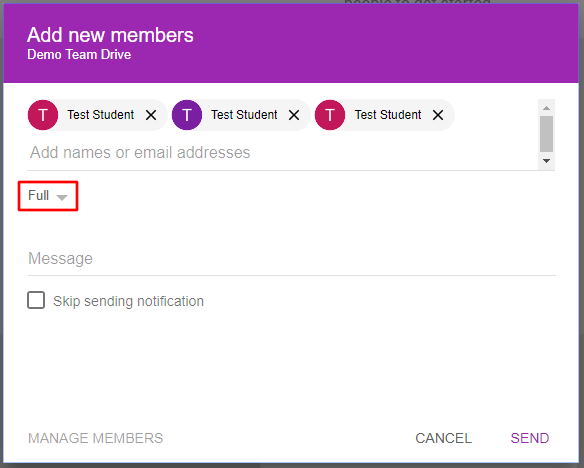](https://kb.princetonisd.net/uploads/images/gallery/2018-08-Aug/ManagingGoogleTeamDrives6-1.png) 6. Select the desired permission level. This will apple to all of the users that you have selected in the previous step. [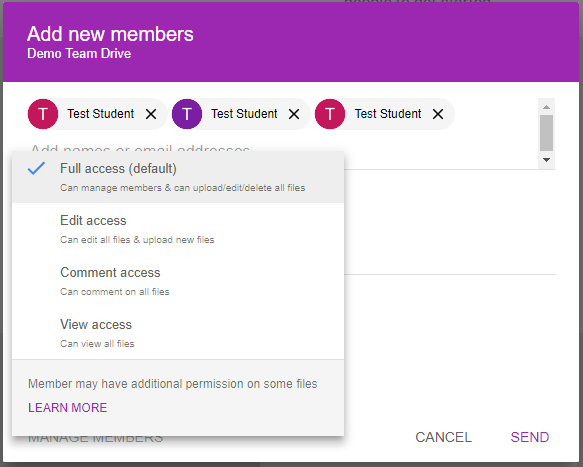](https://kb.princetonisd.net/uploads/images/gallery/2018-08-Aug/ManagingGoogleTeamDrives7.PNG) 7. Fill in a short message which will be sent to each of the users you have selected. Alternatively, check the Skip sending notification box to prevent any message from being sent. [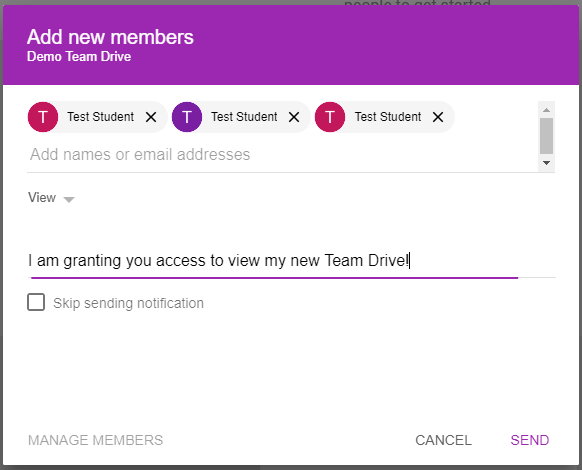](https://kb.princetonisd.net/uploads/images/gallery/2018-08-Aug/ManagingGoogleTeamDrives8.PNG) 8. Click **Send** (or **Add**, depending on the state of the Skip sending notification check box). ### Managing and Removing Team Drive MembersYou must have full permissions to the given team drive to manage or remove members.
It is possible to downgrade your own permissions and to remove yourself from the team drive. If you attempt to do either you will receive an additional warning prompt.
1. Navigate to the desired Team Drive. 2. Click on the **name of the Team Drive** (below the search bar) and click **Manage members**. [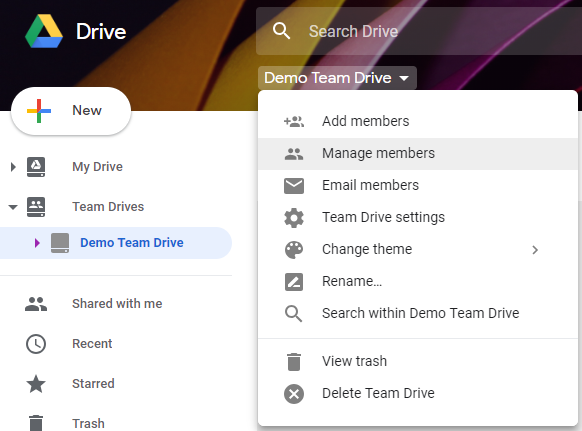](https://kb.princetonisd.net/uploads/images/gallery/2018-08-Aug/ManagingGoogleTeamDrives9.PNG) 3. Click on the dropdown (in red below) to the right of the name of the person that you want to change or remove. [](https://kb.princetonisd.net/uploads/images/gallery/2018-08-Aug/ManagingGoogleTeamDrives10-1.png) 4. Click on the **desired permission level** to change permissions or click **Remove member** to remove their access entirely. [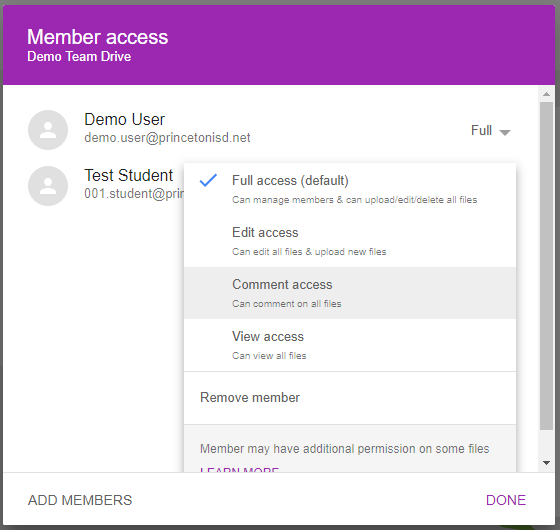](https://kb.princetonisd.net/uploads/images/gallery/2018-08-Aug/ManagingGoogleTeamDrives11.PNG) 5. When finished, click **Done** to close the window.