Printers and Copiers
- Locked Print
- Set Black and White Printing as Default
- Set the Print Code for a Ricoh Copier
- How to Fax
Locked Print
Overview
Ricoh printers support locked print jobs. Using this method, you can print a normal job, but require a passcode to be entered at the printer before the job will print. This is useful if you are printing something secure or if you want to make sure the job is not printed until you are standing in front of the printer.
You can set up locked print two different ways: locked print for all jobs, or locked print for a single job. Follow the directions below to set up locked print.
Locked print for a single job
When printing, click the desired printer and click Preferences

From the preferences menu, click the Detailed Settings tab at the top, click Job Setup in the Menu and select Locked Print from the Job Type drop-down. Click Details... to set your pass-code


Click here for directions on how to print your job at the Ricoh printer.
Locked print for ALL jobs
Click on the Start button and click the settings gear

Click Devices on the Windows Settings page

Click Printers & scanners on the left side of the window

Click the Ricoh printer you want to set up for locked printing and click Manage

Click Printing Preferences

From the preferences menu, click the Detailed Settings tab at the top, click Job Setup in the Menu and select Locked Print from the Job Type drop-down. Click Details... to set your pass-code
Click here for directions on how to print your job at the Ricoh printer.
Printing locked print jobs at the Ricoh
From the Ricoh Home Screen, open the Printer(classic) app

Click the Print Jobs tab and click the username you created earlier. If your print job is not here, please try re-sending the job using the previous directions. If this does not work, please open a helpdesk ticket in Eduphoria.

Click the print job that you want to print and click Print. If you have multiple locked print jobs queued, they will be listed on this page.

When asked for a password, enter the passcode you created earlier and click OK.

On the next confirmation page, click Print and your document will print

If any of these steps do not work or if you need assistance with this problem, please create a helpdesk ticket in Eduphoria.
Set Black and White Printing as Default
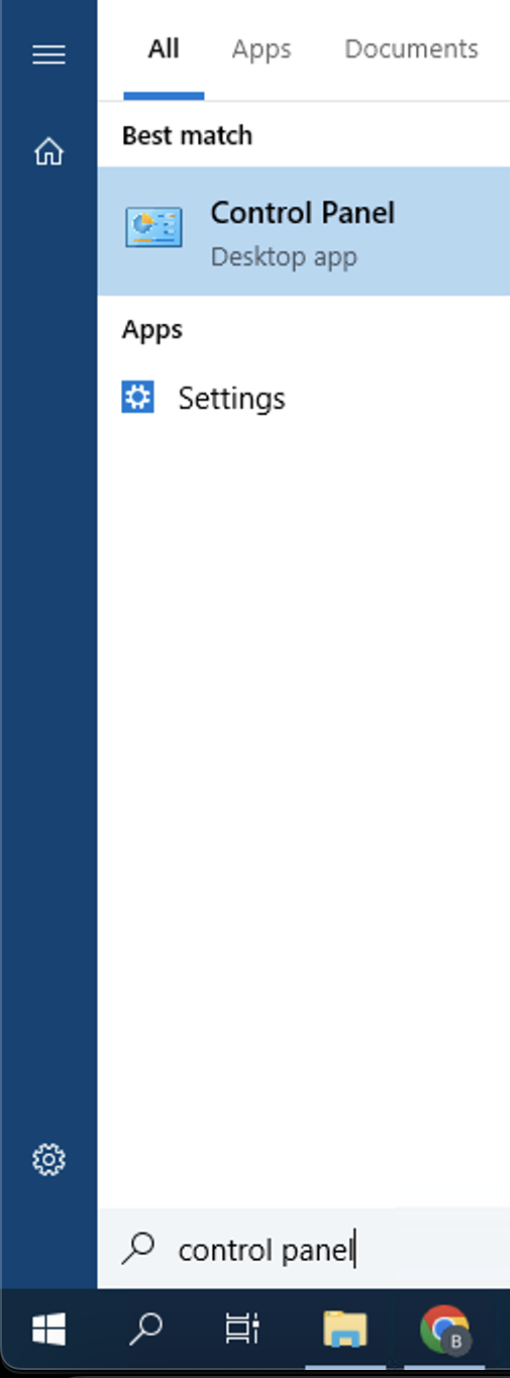
- Click on the Start Menu (Windows logo), then Search for Control Panel
- Open Control Panel
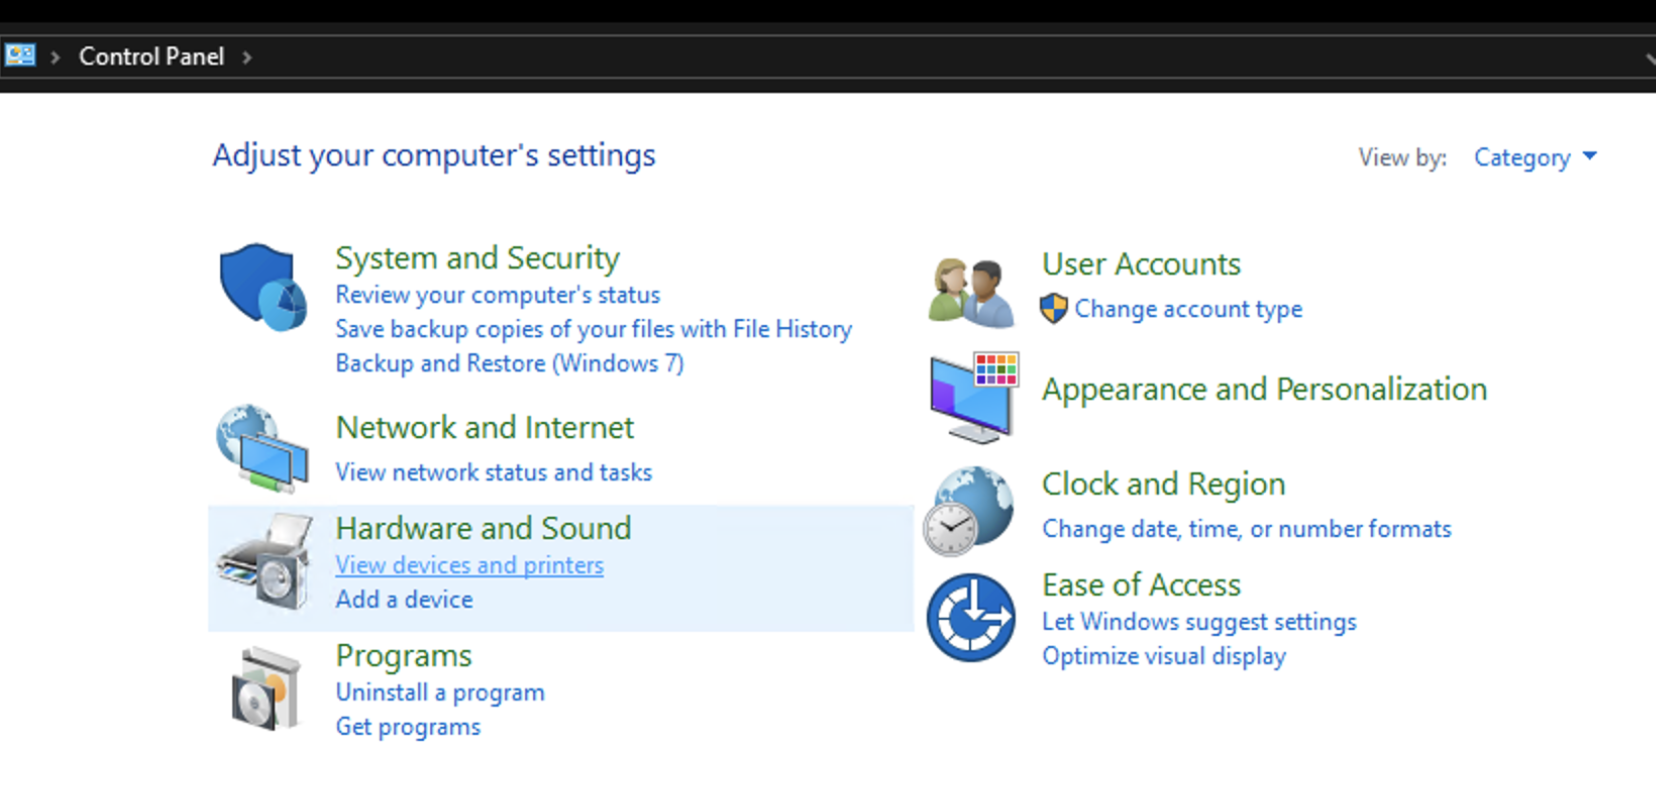
- Under Hardware and Sound click View devices and printers
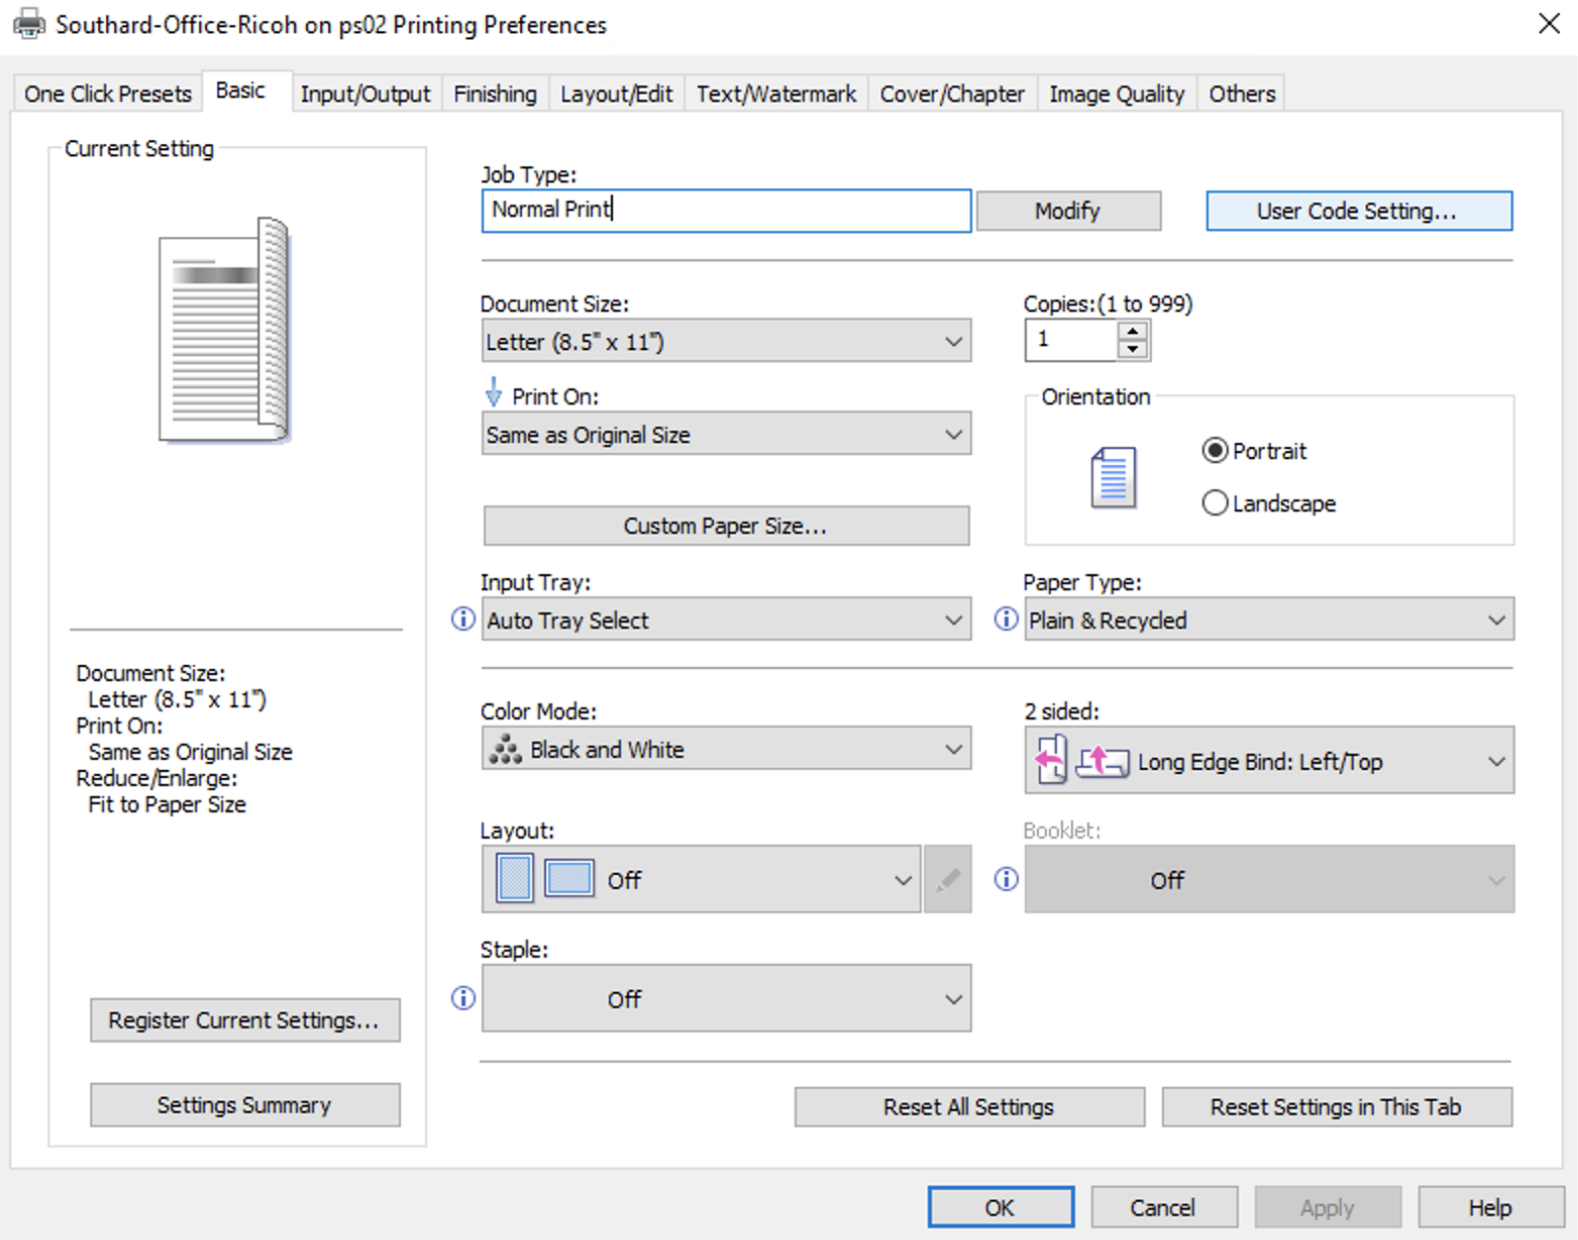
- Right click on the printer and click Printing Preferences
- Change the Color/Black and White setting to Black and White

- Click Apply then OK
Set the Print Code for a Ricoh Copier
- Open the Windows Control Panel
-
- This can be done by selecting the Windows icon in the lower-left corner of the taskbar

-
- Select View devices and printers under the Hardware and Sound section
-
- Right click on the printer and select Printing Preferences
- Select the User Code Setting button in the upper-right corner of the Basic tab
-
- Enter your print code in the User Code box
- Select OK to close the User Code Setting
- Select OK to apply the new printer preferences
How to Fax
Send - Using Email
This section only works if you have been added to the Fax Send list for your campus. If you need to be added to the Fax Send list, please have your principal create an Eduphoria ticket.
- Open your PISD email
- In the destination email address, enter the phone number you want to fax followed by @sendfax.to
-
- e.g. If you want to send a fax to 4691234567, you will send the email to 4691234567@sendfax.to
- e.g. If you want to send a fax to 4691234567, you will send the email to 4691234567@sendfax.to
-
- Attach the document you want to fax
-
- We currently support the following file types:
-
- PNG
- IMG
- DOCX (Microsoft Word Document)
-
- We currently support the following file types:
-
- Anything in the body of your email will be treated as your cover page
-
- If the body of your email is empty, the subject line will be treated as your cover page
- Alternatively, you can attach a file named
coverpage, and it will be treated as your cover page regardless of what is in your email's body or subject line.
-
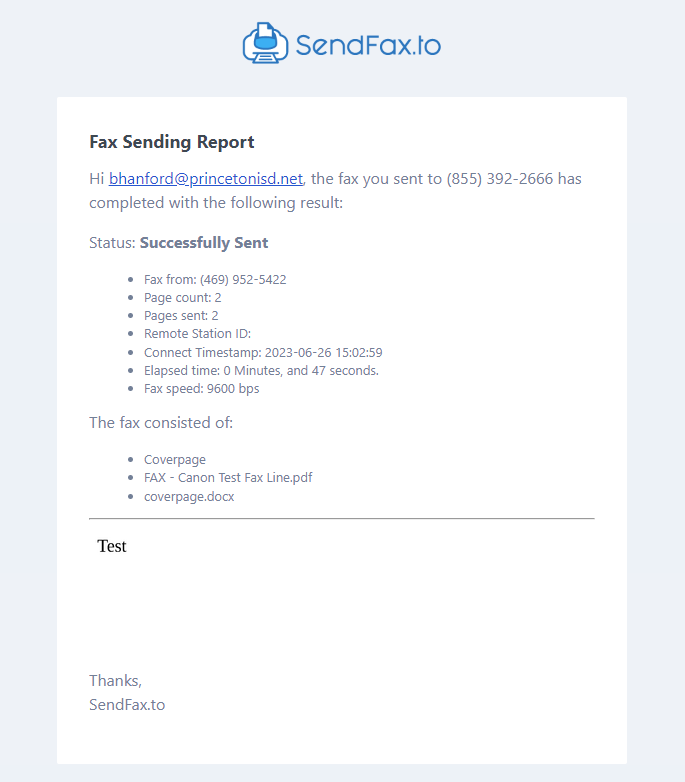
- You will receive an email with the status of your fax
-
- A successful fax will show the files attached, the time the fax was completed, and more:
-
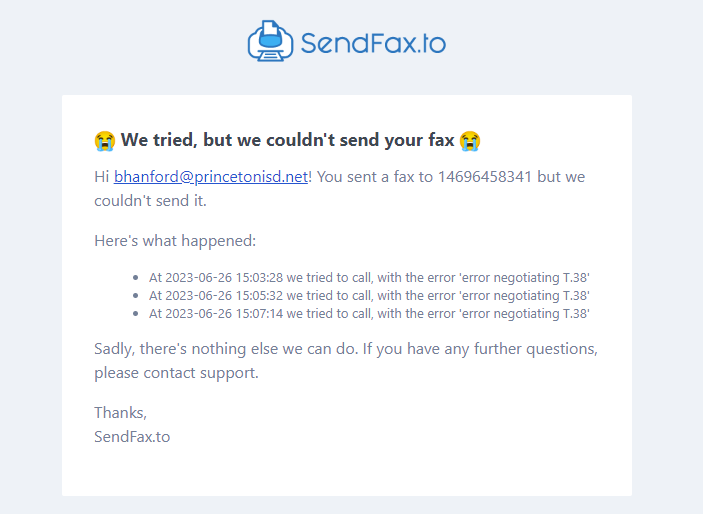
- A failed fax will show the number it was attempting to reach and the times the fax was attempted.
-

- If your fax fails, confirm the fax number is correct in the status email. Please Note: it is supposed to have a 1 in front of the number if the fax is within the continental United States
- If the number is correct, please try the fax again as the fax machine on the receiving end is likely busy
-
- A successful fax will show the files attached, the time the fax was completed, and more:
-
Send - Using Ricoh Copier
Please Note: This method will not give you any information on whether the fax was successful or not
- Open the Scanning App
- Select EMAIL scan tab
- Select MANUAL ENTRY
- Enter the phone number you want to fax followed by @sendfax.to
-
- e.g. If you want to send a fax to 4691234567, you will send the email to 4691234567@sendfax.to
-
- Select any other desired scan settings
- Press START
Receiving
Your account must be setup to receive faxes for your campus' fax number. If you've been setup in this way, you'll receive any faxes sent to your campus' fax number in your PISD email inbox. To be setup to receive faxes, please have your principal create an Eduphoria ticket.