
Creating a Password Protected Document
Overview
This guide will show you how to create a document in Microsoft Office(Word, PowerPoint, Etc.)that requires a password to view. This can be useful to protect documents from being opened until a password is provided, such as for testing.
How to add a password to an Office document
This tutorial is specific to Microsoft Word, but the same options are available in all Office products(Word, Excel, PowerPoint, Etc.)
PLEASE NOTE: We strongly recommend saving a separate backup copy of the document that you do not intend to share before adding a password in case the password is lost.
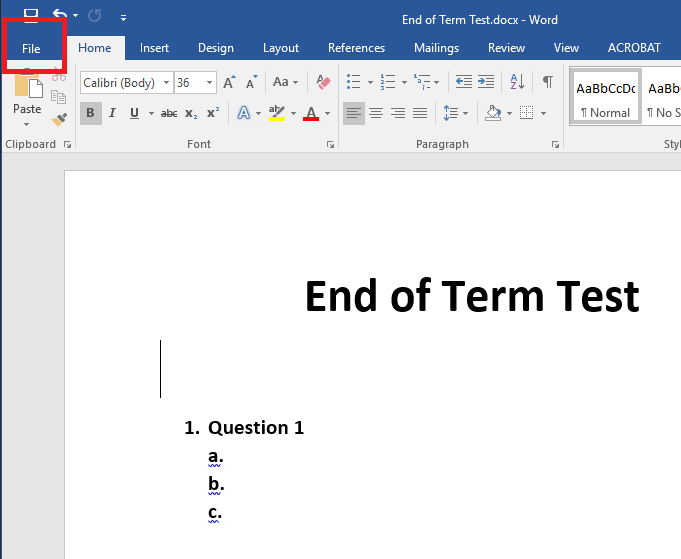
First, Open your document that you want to lock with a password.
Click File in the top left corner to access file options
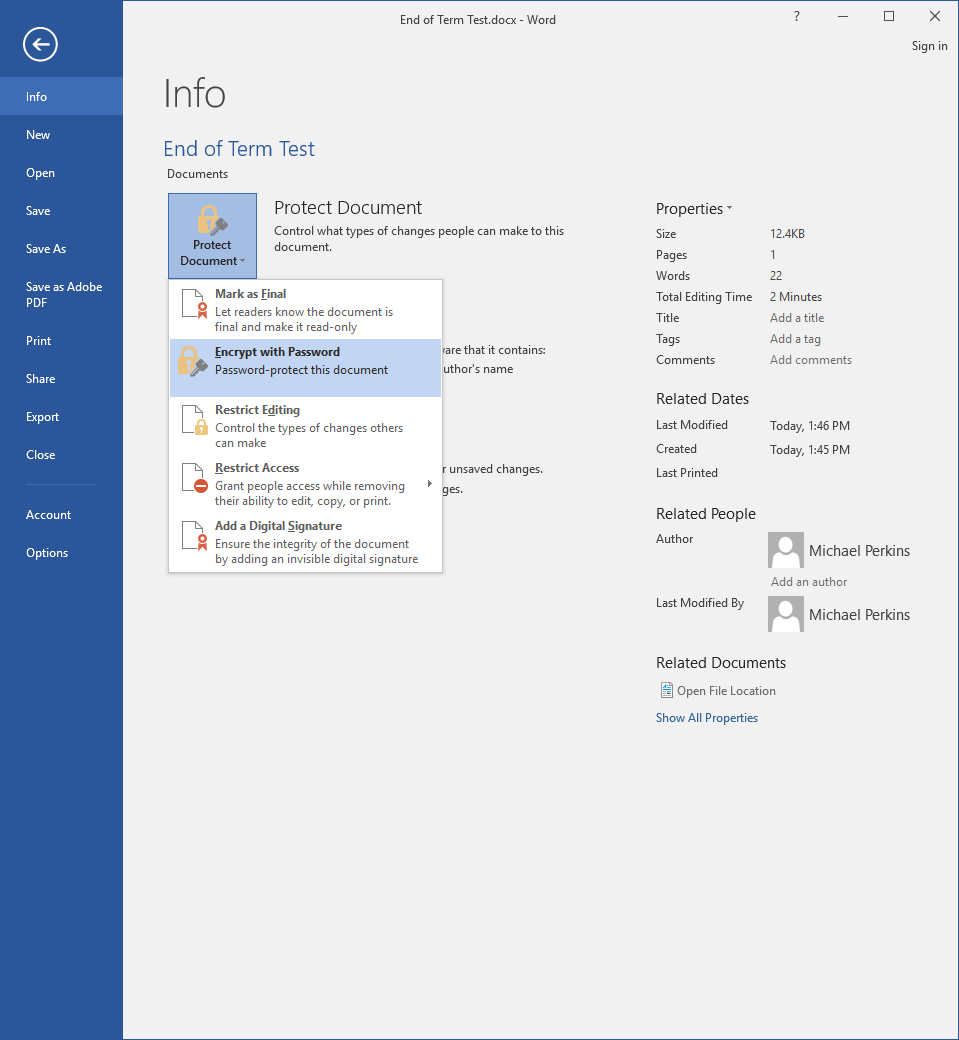
Click Protect Document and select Encrypt with Password. [Note: In other documents, the Protect option might be slightly different. For instance, in PowerPoint the option is called Protect Presentation. It will do the same thing.]
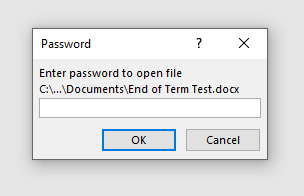
When prompted, enter a password for this document. PLEASE NOTE: This password is case sensitive. Once a password is set, you will not be able to open or modify the document again without entering the password, so the password should be either one that is easy to remember or should be documented so that it is not lost.

Save your document again to verify that the document is save with your password.
The next time the document is opened, it will prompt for a password before the content can be viewed. Enter the password and click OK to view the document.
If you run into any issues in setting a password on your Office document, please submit a help-desk ticket through Eduphoria and a technician will be able to assist you.