How to Fax
Send - Using Email
This section only works if you have been added to the Fax Send list for your campus. If you need to be added to the Fax Send list, please have your principal create an Eduphoria ticket.
- Open your PISD email
- In the destination email address, enter the phone number you want to fax followed by @sendfax.to
-
- e.g. If you want to send a fax to 4691234567, you will send the email to 4691234567@sendfax.to
- e.g. If you want to send a fax to 4691234567, you will send the email to 4691234567@sendfax.to
-
- Attach the document you want to fax
-
- We currently support the following file types:
-
- PNG
- IMG
- DOCX (Microsoft Word Document)
-
- We currently support the following file types:
-
- Anything in the body of your email will be treated as your cover page
-
- If the body of your email is empty, the subject line will be treated as your cover page
- Alternatively, you can attach a file named
coverpage, and it will be treated as your cover page regardless of what is in your email's body or subject line.
-
- You will receive an email with the status of your fax
-
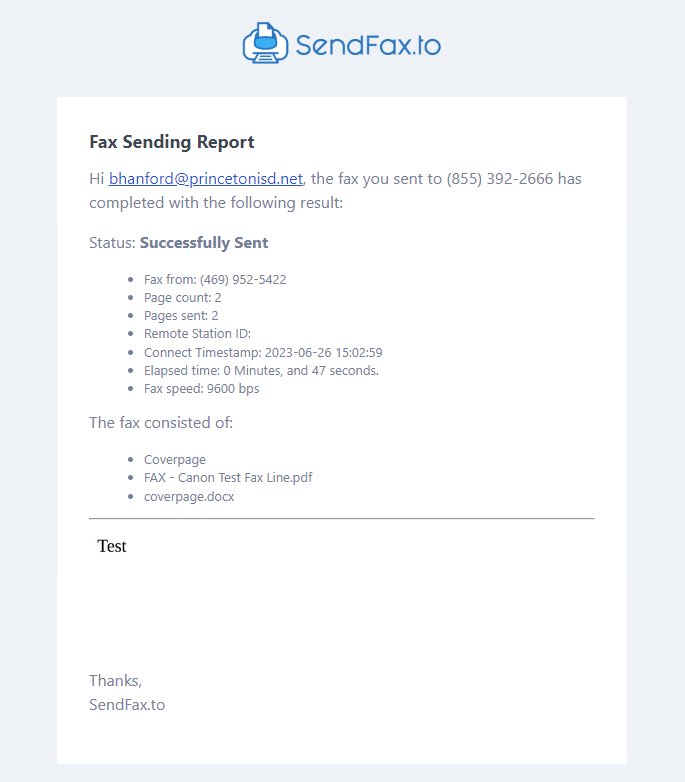
- A successful fax will show the files attached, the time the fax was completed, and more:
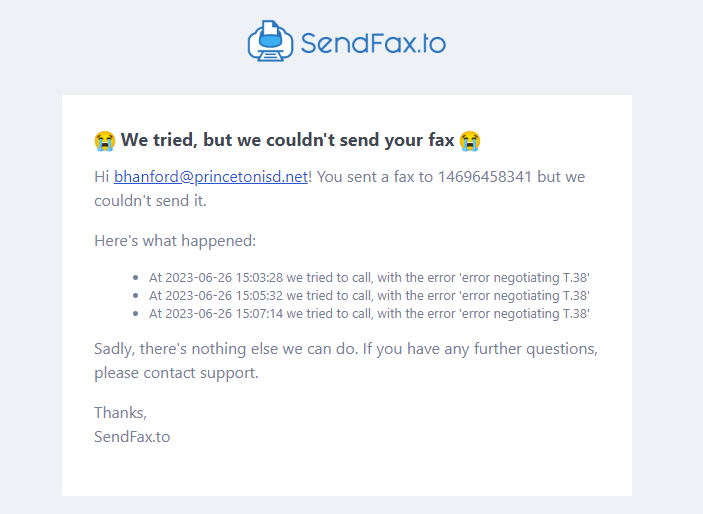
- A failed fax will show the number it was attempting to reach and the times the fax was attempted.
-
Send - Using Ricoh Copier
Please Note: This method will not give you any information on whether the fax was successful or not
- Open the Scanning App
- Select EMAIL scan tab
- Select MANUAL ENTRY
- Enter the phone number you want to fax followed by @sendfax.to
-
- e.g. If you want to send a fax to 4691234567, you will send the email to 4691234567@sendfax.to
-
- Select any other desired scan settings
- Press START
Receiving
Your account must be setup to receive faxes for your campus' fax number. If you've been setup in this way, you'll receive any faxes sent to your campus' fax number in your PISD email inbox. To be setup to receive faxes, please have your principal create an Eduphoria ticket.


