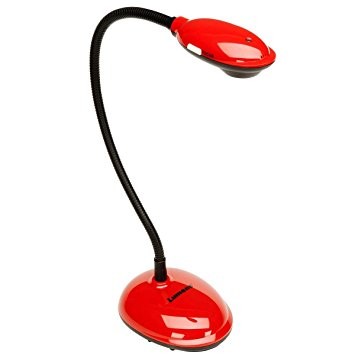
Using the LadiBug DC-120 Document Camera

Installing the Required Software
In order to use the LadiBug DC-120 document camera, the Ladibug 2.0 software must be installed. If the Ladibug 2.0 software is missing, complete the following steps to install it.
- Click on the App Portal icon in the taskbar.
- From the left column, select Document Camera.
- Click the Install button to the right of the Lumens Ladibug 2 software.
- Once the Install button is replaced with an Uninstall button the software is installed.
Starting the LadiBug DC-120 Document Camera
To begin using the LadiBug DC-120 document camera, please follow the steps below.
- Click on the Start button in the lower-left corner of the screen.
- Type "Ladibug" in the search bar.
- Click Ladibug 2.0 in the search results.
Troubleshooting
Black screen displayed (no video)
- Check that the USB cable is connected to the computer.
- Check that the USB cable is connected to the camera.
- Disconnect and reconnect the USB cable.
- Restart the Ladibug 2.0 application.
- Click on the floating Ladybug icon.
- Click the button in the top-left corner of the floating buttons so that it appears to be indented.
- If these steps to not resolve the issue please create a ticket in Eduphoria.
